

There’s nothing like driving a brand new car around and watching people turn their heads in admiration. As your car gets exposed to the elements over the years, it can start to lose its shine. It’s going to take a lot of attention to detail and a little bit of hard work to get your car shining like it’s new again.
Fortunately, there are plenty of products available that can make the job much easier. Using a quick coat spray is a quick and effective way to get your paint shining again, but what about your rims? If you have chrome rims, then it might take a little more effort to get them looking like new again. read this article in shine armor blog!
products in shine armor:
- Shine Armor Vacuum Cleaner
- Shine Armor Graphene Ceramic Spray
- Spray Wax Quick Coat for Cars
- Performance Booster Oil Additive
- Armor Suds Graphene Shampoo
Are All Chrome Rims the Same?
The first thing that you’ll need to know is what type of chrome rims you have. While each type of chrome will pretty much look the same, there is a big difference in terms of scratch resistance. You probably have one of two different rims: chrome-plated or a PVD finished.
Chrome Plating
Chrome plating is the traditional method and is usually more expensive. The alloy wheel is dipped into a chemical bath containing the dissolved element of chromium (chrome). An electrical current is run through the liquified chrome. The opposite ionic charges in the wheel and chrome will fuse together and create a bonded layer.
Chrome plating will produce a shine that can’t be beaten, but there are a few downsides. The chemical paths are extremely toxic, and the chrome will add about a pound or two to each rim.
PVD Finished
PVD stands for physical vapor deposition and is much more commonly used these days. PVD basically functions like a powder coating finish, except that it allows for solid metals like chrome to be applied.
A solid piece of chromium is vaporized using a process of either ion bombardment or resistive heating. The chromium atoms will be sprayed onto the rim and create a bond with the top layer of the surface.
The PVD process is much better for the environment than traditional chrome plating and is virtually weightless for your rim. The only downside is PVD is nowhere near as scratch-resistant as chrome plating, so you’ll need to be extra careful when cleaning it.
What Causes Chrome To Lose Its Shine?
In its natural form, chromium is a hard and corrosion-resistant transition metal. The process required to apply it to rims will cause it to be a little softer. While it will maintain its resistance to corrosion, it will lose some of its durability. That will make it more susceptible to elemental damage that can cause it to lose its shine over time.
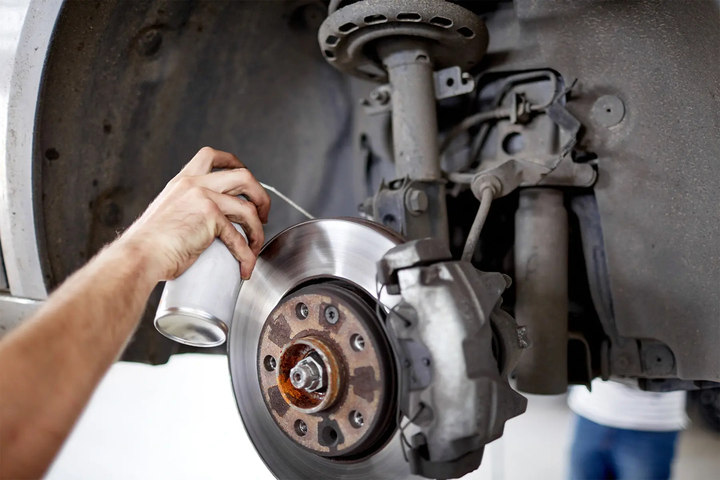
The main culprit is known as brake dust; it can ruin chrome rims really quickly. Brake dust is a term that refers to the carbon fibers and metal shavings that come from the brake pad and rotor.
The process of braking will generate a tremendous amount of heat and friction. Over time, the metal parts of your brakes will deteriorate and create extremely hot and sticky dust.
Brake dust can not only cause your chrome to lose its shine, it can also scratch it and lead to corrosion. The best way to avoid your chrome being damaged is to frequently clean your rims and prevent brake dust from building up.
What Is the Step-By-Step Process of Polishing Chrome?
Cleaning your chrome rims is the best way to avoid brake dust from causing damage to your chrome. However, you will still need to polish them every now and again to really bring out the shine. The overall process isn’t too difficult, but you’ll need to use some elbow grease. It will probably take you about an hour or so to polish all four of your wheels.
Here is the step-by-step process of how to polish chrome:
Cleaning Your Rims
The first step is to properly clean your rims. You’ll want to be careful not to use any abrasive chemicals or hard bristle brushes that might scratch them.
- Fill up a bucket with some warm water and soap. Be sure to use a soap that’s powerful enough to clean your rims but not too harsh that it damages them.
- Use a sponge and apply the soapy mixture to your rims. Start at the outside edges of your rim and work your way into the center.
- Use a soft-bristled brush to break up any buildups of dirt, grime, or brake dust. Be careful not to use a brush that can scratch your chrome. Remember that PVD finished chrome isn’t as durable as chrome plating.
- Let the soap sit and move on to the next rim. Give the soapy mixture about five or ten minutes to soak in and break up any residue. Take the time to get the process started on the other rims.
- Rinse off your rims and clear off any soap. It’s easiest to grab your garden hose and spray off any soap residue that you see.
- Dry off your rims using a towel. Letting your rims air-dry can cause them to develop water spots. It’s best to use a microfiber towel to quickly and safely dry them.
Polishing the Chrome
Polishing your rims won’t do very much unless they are thoroughly cleaned first. Make sure that you remove any dirt, grime, or brake dust from your rims before you start the polishing process.
Step 1: Select the Polish
Select a metal polish designed specifically for chrome. There are some polishes that are intended to be used only on rims, but any polish made for chrome will be fine.
Steps 2 to 4: Apply
Apply the polish onto a foam pad or ultra-fine steel wool. A foam pad is the safest option for your rims, but it won’t be very effective on dirty rims. If you opt for steel wool, then look for ultra-fine or a rating of #0000. Using anything more coarse than ultra-fine could severely damage your rims.
Rub the polish back and forth onto the surface of your rims. Use your pad or steel wool to apply the polish to your rim. Start near the edge of the rim and work your way into the center.
Use a back and forth motion on flat surfaces and an elliptical motion for curved surfaces. Go over every inch of your rims three or four times to make sure the chrome is properly polished.
Reload on polish as needed. You should notice tiny bubbles starting to appear as your rub in the polish. As the polish starts to thin out, the foam will become less bubbly. Reload on your polish to make sure that the rim is coated evenly. It will probably take between eight to 12 polish reloads to get through all four rims.
Steps 5 to 6: Rinse and Remove
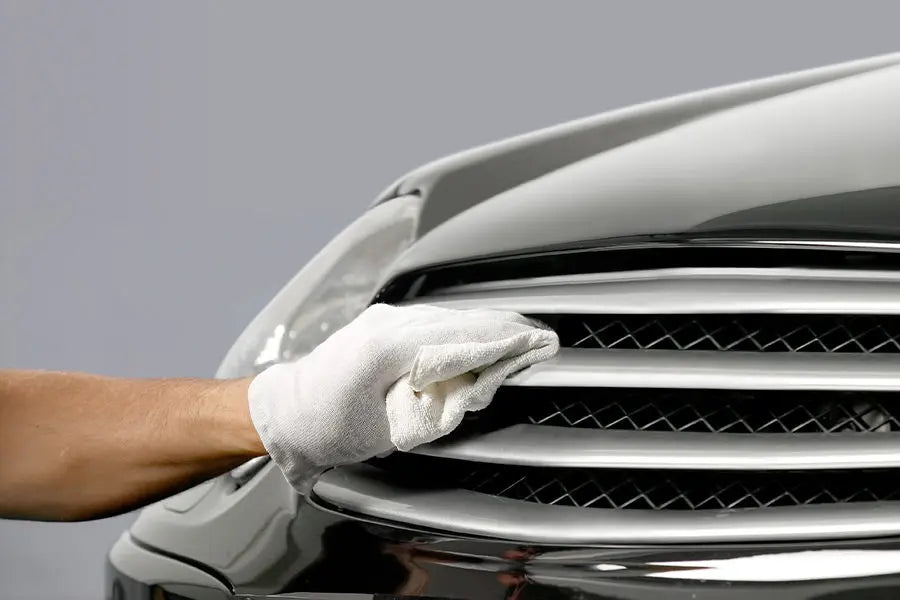
Use a microfiber cloth to remove any excess polish. Go over each rim and rub the surface where you applied any polish. You won’t need to rub particularly hard as your goal is only to remove any excess polish.
Rinse off your rims and dry them with a microfiber towel. Using a foam pad or steel wool will leave behind some contaminants on your rims. Rinse them off with your garden hose to remove anything that might have been left behind. Remember to use a microfiber towel to prevent any water spots from showing up on your rims.
The Chrome Zone
In order to keep your chrome rims shining brightly, you’ll need to polish them at least once a year. You might need to perform the process two or three times if you live in an area with a lot of ice or snowfall.
While you’re polishing your chrome rims, it would be a good opportunity for you to clean your tires. Using Shine Armor’s Graphene Tire Shine can help your tires generate a deep black appearance. Not only will they have a clean appearance, but their shine also provides a perfect offset for your newly polished chrome rims.
SOURCES
Clean Wheels, Clean Air: The Inconvenient Truth About Brake Dust | Motor Trend
Physical Vapour Deposition | Science Direct
The shining: chrome plating explained in 14 steps | The Motorhood