

Car detailing is the act of deep cleaning your vehicle and restoring it as closely to a mint condition as possible.
If you think of washing your car like taking a shower, then car detailing would be like going to a day spa and getting the full treatment. Using soap and water to clean the outside is a good practice, but you would need to really put in some extra work to get the hidden dirt and grime that might be building up.
Having your car detailed by professionals can get pretty expensive. However, you can save quite a bit of money by performing the act at home. In order to properly restore your vehicle to its former condition, you’ll need to follow a careful routine.
These are a few of the areas you’ll need to focus on and a few helpful tips on getting them thoroughly cleaned. Read on to learn more in this article of shine armor blog!
related products in shine armor:
- Shine Armor Graphene Ceramic Spray
- Spray Wax Quick Coat for Cars
- Performance Booster Oil Additive
- Armor Suds Graphene Shampoo
What You’ll Need
In order to properly detail your car, you will need the following items:
- Two buckets (one for clean water and one for dirty water)
- Soap specifically designed for washing cars
- A car washing sponge or mittens
- Hose with a steady supply of water and spray nozzle attachment
- Microfiber towels for drying
- Wax or coating product and applicator pads
- Glass cleaner or rubbing alcohol
- Tire brushes
- Tire shine
- A vacuum cleaner or carpet steamer
- Carpet shampoo or cleaner
- Interior detailing spray
Car detailing is more than just a chore; it's an art that transforms your vehicle into a gleaming masterpiece. Whether you're preparing your car for a show or just want to indulge in the satisfaction of a spotless ride, following a comprehensive car detailing checklist is crucial. In this guide, we'll walk you through the steps to achieve a showroom-worthy shine that will turn heads on the road.
Step 1: Pre-Wash Preparation
Before diving into the detailing process, make sure you're set up for success. Park your car in a shaded area to prevent water spots during the process. Gather all the necessary supplies, including microfiber towels, brushes, car wash soap, wheel cleaner, and a clay bar.
Step 2: Exterior Cleaning
- Wheels and Tires: Start with the dirtiest parts. Apply wheel cleaner and let it sit while you move on to other tasks.
- Rinse and Pre-Wash: Give your car a thorough rinse to remove loose dirt. Use a pre-wash solution to break down stubborn grime.
- Two-Bucket Wash: Use the two-bucket method to prevent swirl marks. One bucket for soapy water, another for rinsing your wash mitt.
- Washing the Body: Work from the top down, using a microfiber wash mitt. Rinse your mitt frequently to avoid transferring dirt.
Step 3: Decontamination and Clay Bar
- Clay Bar: Run your hand over the car's surface. If it feels rough, it's time for a clay bar treatment. Lubricate the area with a quick detailer and gently glide the clay bar.
Step 4: Drying and Inspection
- Drying: Use a microfiber drying towel to gently dry the car. Pat, don't rub, to avoid scratches.
- Inspection: Inspect the paint for any remaining contaminants. If needed, repeat the clay bar process.
Step 5: Interior Cleaning
- Vacuuming: Remove floor mats and vacuum the interior thoroughly, including the seats, floor, and crevices.
- Cleaning Surfaces: Wipe down surfaces with appropriate cleaners – leather, vinyl, plastic, etc. Don't forget the nooks and crannies.
- Glass Cleaning: Clean the interior glass with a glass cleaner and a microfiber cloth.
Step 6: Polishing and Protection
- Polishing: If your paint has imperfections, consider polishing. Choose a suitable polish and apply using a dual-action polisher.
- Sealing/Waxing: Apply a protective layer, like wax or sealant, to shield your paint from the elements.
Step 7: Final Touches
- Tire Dressing: Apply tire dressing for a sleek finish.
- Exterior Trim: Use trim dressing to restore faded trim.
- Final Inspection: Walk around your car to ensure you haven't missed any spots.
Step 8: Interior Details
- Glass Cleaning: Clean the interior glass with a glass cleaner and a microfiber cloth.
- Interior Dressing: Apply interior dressing to give a fresh look to plastic and vinyl surfaces.
- Carpets and Upholstery: Use appropriate cleaners to refresh carpets and upholstery.
Step 9: Finishing Flourishes
- Fragrance: Use an air freshener to leave a pleasant scent.
- Wheels: Clean and dress your wheels for a complete look.
The Exterior
The exterior of your vehicle will be subjected to very harsh conditions and will experience severe punishments from all kinds of different elements.
Depending on where you live, your car will constantly experience direct sunlight, intense high or low temperatures, and other elements of nature such as rain, sand, dirt, mud, and snow. The exterior of your vehicle can also be negatively impacted by unexpected sources too. Bugs, bird droppings, tree sap, and even dust can damage your paint too.
The best thing you can do to limit the damage of these elements is to park in a covered area as often as possible and try to detail the exterior of your car once a week.
These are the areas that you will need to pay attention to when detailing your exterior:
- All painted surfaces, including the roof, hood, trunk, doors, and quarter panels
- Anything involving glass such as the windshields, windows, side mirrors, headlights, tail lights, and sunroof
- The trim and molding of your vehicle, like the front bumper, rear bumper, grill, splash guards, and rocker panels
- Wheels, including the rims, nuts, bolts, and tires
- Miscellaneous areas such as the license plate, door jambs, tail pipe, and gas tank
Step-By-Step Process
As the name implies, detailing your car will require paying special attention to the details. The overall process isn’t particularly complicated, but it’s important to focus on hitting all the spots whether you can see any grime or not.
It’s important to take your time and complete the following steps in this order:
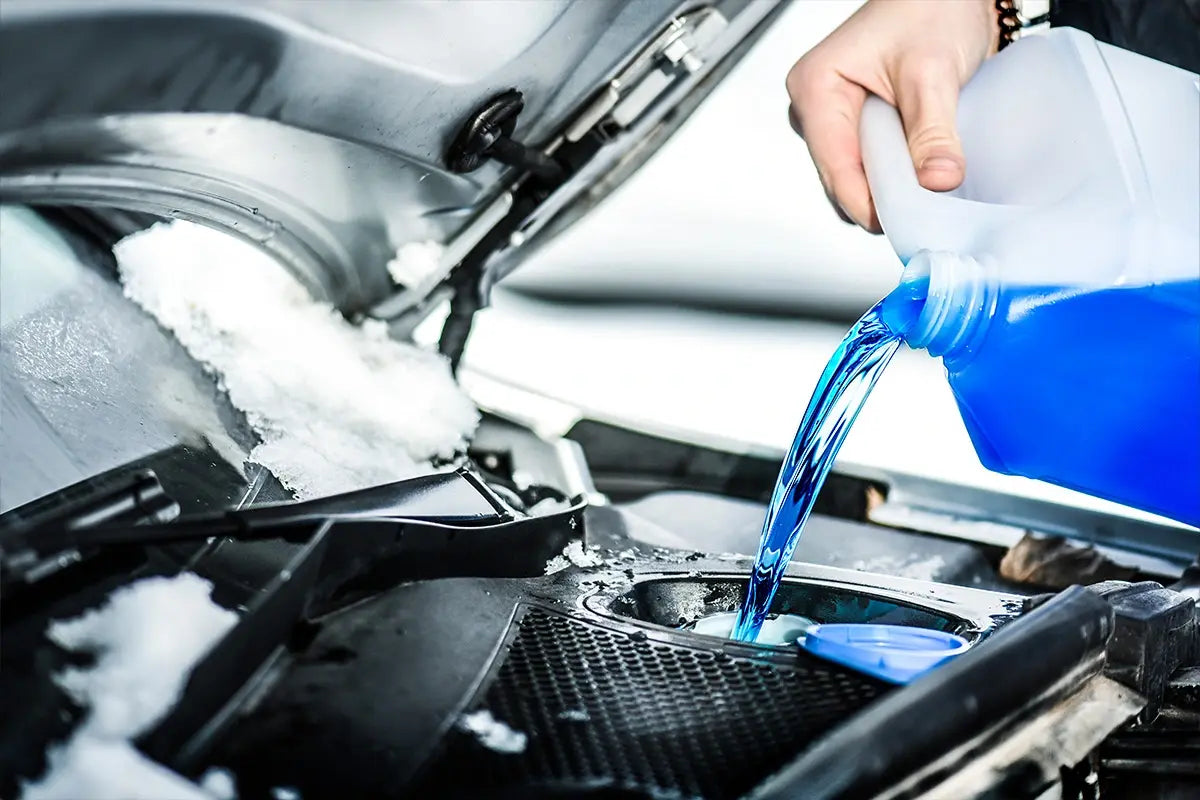
1. Wash and Dry Everything
Before you get started, make sure to park your vehicle in the shade in order to avoid direct sunlight and heat. It’s best to wash your car either before 10 am in the morning or after 4 pm in the afternoon.
- Use your hose to thoroughly rinse off your car and remove any loose dirt, grime, grease, or other debris.
- Mix together the soap and water into one of your buckets and fill the other bucket with water to clean and rinse your mitt or sponge.
- When the car is still wet, use your mitt or sponge to apply the soap mixture to your car in lines as opposed to circles. Start at the top of your vehicle and work your way down from there. (The dirtiest parts of your car are found near the bottom.)
-
Rinse off your vehicle once more and use microfiber towels in order to dry it. Microfiber towels are highly effective at cleaning, but they can sometimes trap debris that might scratch your finish. So, it’s best not to reuse them and swap them out when they become soaked.
2. Apply Wax On the Paint
Once you’ve dried your vehicle, it’s now time to apply wax to the painted areas. Use a quick coat product to help to clean, seal, and protect the ceramics that make up your vehicle’s paint and finish and save time compared to using traditional wax.
- Dip your applicator pad into clean water in order to get it wet.
- Apply your wax to the pad when it’s still damp.
- Use the pad to rub in the wax and wait for it to dry into a haze.
- Remove the wax by using a microfiber towel.
- Repeat the process for your roof, hood, trunk, doors, and quarter panels. Make sure you are only working on one at a time and applying an even coat.
3. Clean and Dry All Glass
Using soap when washing your car in the first part of this process is probably enough to improve visibility and cleanliness. However, for a true detailing, you’ll want to go back over them afterward. Make sure to clean the inside of your glass windows, not just the outside.
- Wipe down any glass with a microfiber towel in order to remove any potential debris.
- Spray your glass cleaning product onto a different towel (not directly on the glass) and wipe in a circular motion.
- Be sure to get the inside and outside of your windows and windshields. Don’t forget your headlights, taillights, side view mirrors, and rearview mirror.
- Take time to thoroughly dry the glass after you have wiped it down. Glass cleaner tends to leave residue and streaks when not properly removed.
4. Clean and Polish the Wheels
Your tires can become incredibly dirty in a very short amount of time. Even after washing your car, this part can still be pretty filthy, which is why it’s such an important part of detailing.
- Soak your tire brush in the bucket filled with soapy water and use it to scrub your wheels and tires. You’ll properly need to rinse it frequently as it will probably get dirty quickly.
- Focus on one tire at a time. Make sure to get in between the spokes and around the tire walls.
- After scrubbing your wheels and tires, rinse them again in order to remove the soap and dirt.
- Use a microfiber towel to dry off your wheels and tires before applying the wheel shine to the sidewalls of your tires.
The Interior
The difficulty of cleaning the interior of your car will largely depend on how clean you keep it in between details. By maintaining a high level of cleanliness, you can make this part much easier on yourself in the future.
There are a few different areas of focus when detailing the interior of your car, including:
- The upholstery such as the floor mats, carpets, seats, and ceiling.
- The dashboard and console area, including the steering wheel, pedals, and vents.
- The inside of glass, like your windows and windshields.
Step-By-Step Process
There are way more customizable options for the interior of your vehicle compared to the exterior. As a result, the process of detailing the inside isn’t as universal. However, there are still a few things that will be common to detailing all vehicles.
Use a Vacuum cleaner
First, you should remove all the large items and trash from your vehicle. Anything bigger than a penny should be out of your car before you get started.
- Use a vacuum and work from the top of your car to the bottom, as most dirt will eventually find its way to the floor.
- Make sure you run the vacuum everywhere, including underneath the floor mats and seats.
Clean the Upholstery
After vacuuming and removing debris, you will then need to clean the upholstery.
- Identify any stains or areas that will need special treatments. For example, your driver’s side will probably be used more often than any other area, so pay close attention when cleaning that area.
- Use car upholstery and interior cleaners to get the ultimate deep clean. Or, you can use a steamer for more extreme situations.
- Check again for any missed areas or stains, such as under your seats or beneath floor mats.
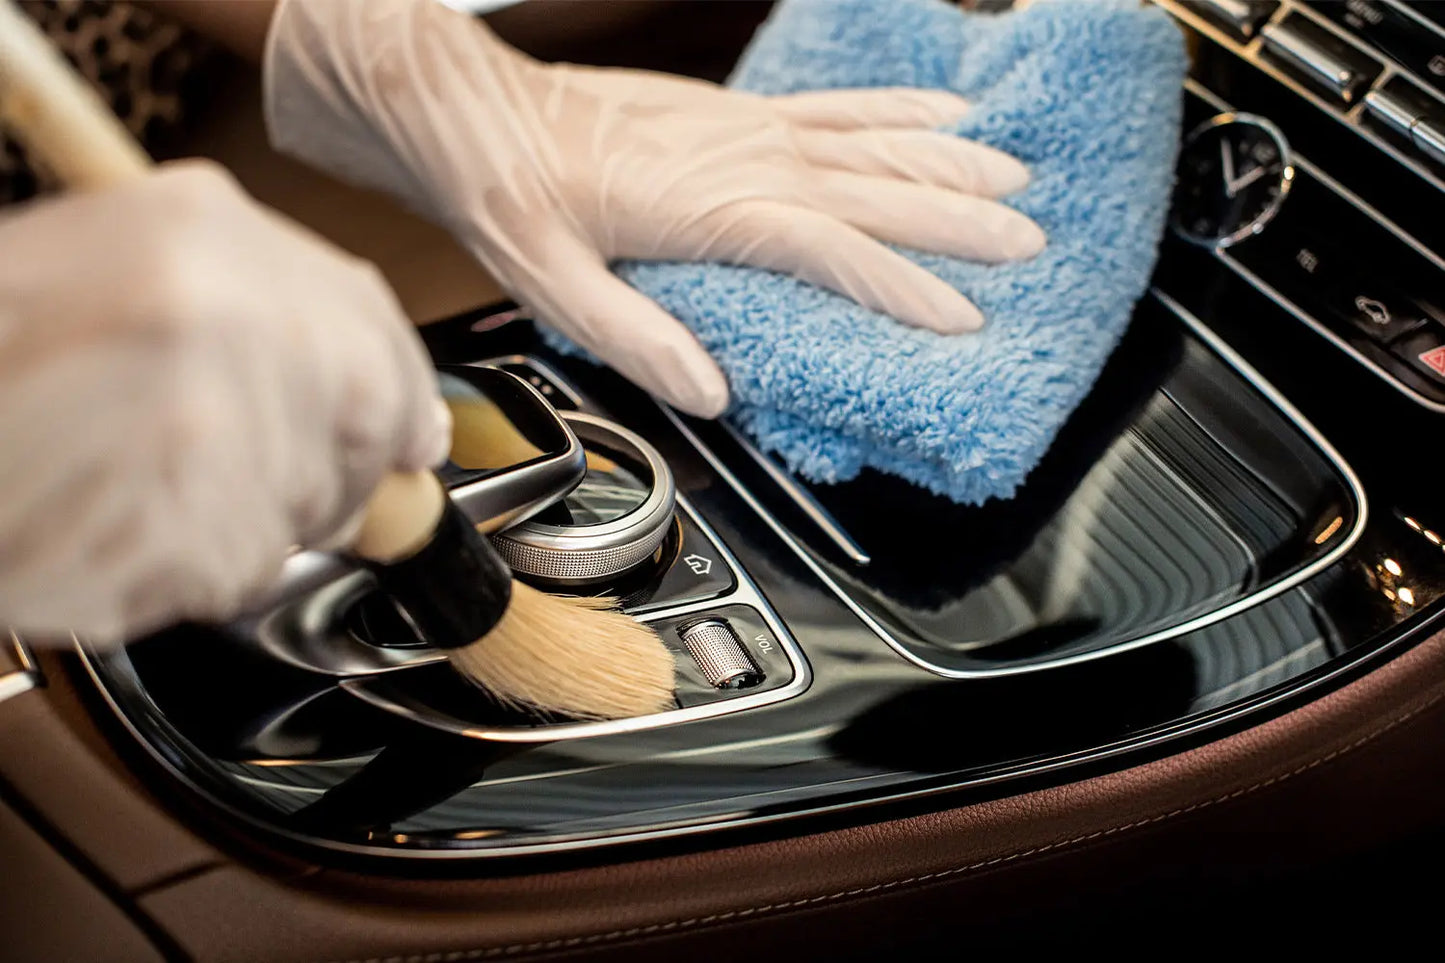
Protect Your Plastics
Once you have taken care of the fabrics inside your vehicle, you’ll need to turn your attention to the dashboards and hard plastics. These various plastics are particularly susceptible to sun damage, so it’s a good idea to use an interior detailing spray to help protect them.
- Wipe down all the hard surfaces with your spray and a microfiber towel. Make sure to get all the plastic on your dashboard and console area, including the space underneath your windshield.
- For tight spaces such as your air vents and cup holders, you might need to use cotton swabs instead of a towel.
A Little Work For a Big Reward
Detailing your car can be a little bit tricky the first few times that you do it. Just like the name suggests, you’ll need to pay attention to the details. However, you’ll start to develop a mental checklist and routine after doing it a few times, and it will only get easier each time.
Keeping some of the tips listed above in mind and using the proper products can help your car look as good as it did the day you bought it.
Related blog posts: