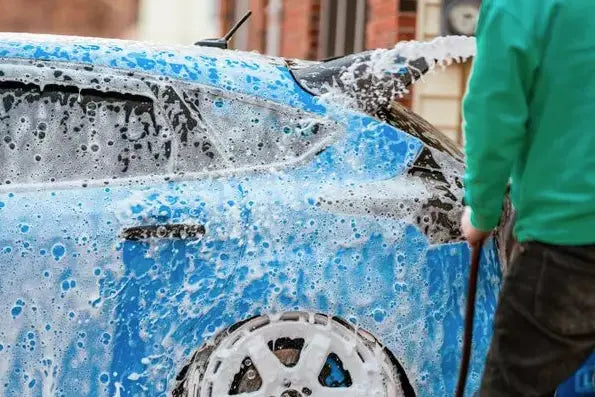
Regardless if your pride is found in that American classic, that foreign import, your old daily, or that shiny new luxury car you bought for yourself after that recent promotion, a clean car is a great way to show your pride for your ride. Read on to learn more in this article of shine armor blog!
related products in shine armor:
- Graphene Ceramic Spray
- Fortify Quick Coat
- Revive Car Scratch Remover
- Graphene Ceramic Nano Glass Coating
- Anti-Fog Hero
- Car Upholstery and Interior Cleaner
What Are We Accomplishing?
When taking on the task of cleaning your vehicle and practicing car care, you should start by choosing one of the main five sections of the car. At that point you should work on each section from start to finish to ensure you have completed the task to the best of your abilities. As you will read, the beginning steps of many sections are the same, and can be done as a set.
Paint
The paint consists of the color of your vehicle, sealed beneath layers of clear. This clear coat is designed to take the abuse of rocks, dirt, grime, rain, and much more as you drive down the road. One of the largest abusers of paint comes from the sun, in the form of UV rays.
When washing your car, your goal is to remove all contaminants from the surface of the vehicle, trying to avoid scratching the clear. This means using water, and plenty of it. Dragging dry dirt or other contaminants across your paint may scratch the clear surface.
Windows
The widows in your vehicles is how you see the world. If you're on your daily commute or taking that long needed trip, the last thing you want to be looking through is dirt, grime, and those unwanted bird droppings.
Wheels and Tires
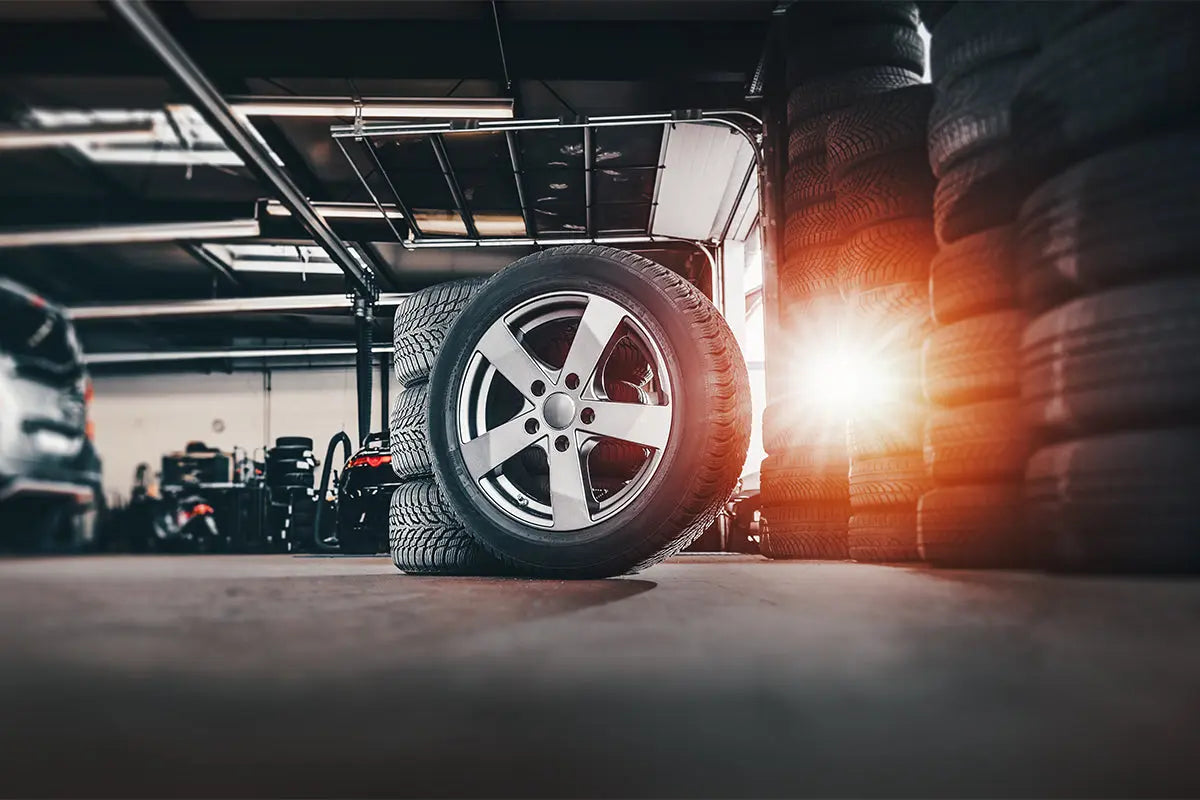
When considering your wheels, or sometimes called rims, think brake dust. Every time you hit the brakes, small particles of brake pad and brake rotor material are released as friction slows your car to a stop. If you look at your wheels, especially your front wheels, you may see a slight bronze or black color difference.
Brake dust is produced during normal vehicle operation, meaning unless there is a major buildup on a specific wheel, it isn’t something to worry about, but the dust is corrosive due to the iron particles found in the brake rotor material, and should be cleaned off.
As many drivers are aware, tires don’t last forever. Tires are made of a rubber compound that is designed to last through the years with appropriate maintenance and cleaning. You should focus on cleaning your tires of all contaminants, followed by specific treatments designed to lubricate and guard the rubber from UV rays. This means that during periodic maintenance and car washes, you should always check your tires while you clean them to ensure there is no cracking or lack of tread.
Shop by category:
- buy exterior products from shine armor
- buy interior products from shine armor
- Buy Best car detailing kit
Underbody
When we discuss the underbody of your car, we are talking about inside the wheel wells, the frame, the exhaust, and many of those other components tucked underneath.
While they may be out of sight, neglect could increase the risk for rust and deterioration over time. This is especially important in locations which experience snowfall, where many states utilize salt as a means of ice removal. Road salts release ions that cling to your iron and steel car components, causing iron-oxide, or rust.
Even if you live outside of a snowy climate, the underbody of your car has many nooks and crannies which house the ability to hold dirt and debris. These contaminants can then hold and absorb moisture, so while the car is designed to drain any moisture collected during operation or humidity, these contaminants hold this moisture in a location long enough to begin the rust process. Once rust begins, the rust itself will hold moisture and begin to “spread” over time.
Interior
When you enter your vehicle, you may find a number of materials that will need interior cleaning. Leather, vinyls, carpets, headliners, plastics, metals and more. These materials are specifically designed and coated for extended use within a vehicle--part of the design includes coatings applied to the materials in manufacturing to assist in moisture, bacteria, and UV resistance. Over the many years of sitting, touching, and using your car, these coatings begin to wear down and need replacing.
You should always use interior specific cleaner and conditioners inside of your vehicle. Many non-specific cleaners work by breaking down grease, oils, and waxy substances on the surface to easily be wiped away. These are coatings which are vital to the longevity of your interior to avoid cracking or sun fading.
How To Do It Right
While many consumers prefer the quick, easy, and pricing-friendly method of driving through an automated express car wash, even if it's at a full service car wash location with free vacuums and tons of wash options, we’d like to stop you right there and tell you why this is not the route to take. Regardless if you are using a traditional car wash tunnel with brushes and wet mats, or a touchless service using water and air for your exterior car wash, the focus on time and money will keep them using just barely enough product to get just barely enough shine to keep consumers happy with their car wash experience, making that free car wash you earned from your unlimited wash club not very valuable in the first place.
So now you must ask yourself if the even the best car wash in your neighborhood is actually removing the grime from your vehicle or even adding the appropriate protection at the end. While you may be happy immediately after the wash, the truth becomes apparent as the water sticks to your window, and the dirt begins to build.
With so many different coatings on the different components and materials of your vehicle focused on the idea of protecting the product, it’s important to clean your vehicle the right way.
Paint
Each day, your vehicle's paint is hit with dirt, sand, rain, stones, and the UV rays from the sun, and while your vehicle may have come from the dealership with a fresh coat of wax to protect it from the elements, over time these protective layers need to be cleaned and re-applied.
First, you want to always use an automotive specific soap. Soap is not a one product fits all, dish and hand soaps work by breaking down oils, waxes, and any other non-porous materials which you need on your car's paint surface for protection. Automotive soaps allow the dirt and grime to lift off the surface, but the soap itself has a protective finish which adheres to multiple surfaces, such as your paint, windows, plastics, and chrome trim. It’s important to understand this coating is very thin, and does not replace coatings such as wax or ceramic.
What You’ll Need:
Water source
A hose is ideal, but buckets with a water supply will work
Car washing mitt, glove, or sponge
Automotive specific soap
2 buckets or a soap cannon - A soap cannon is a soap dispenser which attaches to a hose or power washer, and is a great touchless method for applying soap to your vehicle)
Microfiber towels - Do not use regular towels or rags. Microfiber towels are soft and intended to pull water away from the surface. Be sure to have a couple microfiber towels for the job.
How To Do It:
Rinse your vehicle thoroughly. Don’t be afraid of water. Start from the top of your
vehicle and rinse everything thoroughly. This will remove loose contaminants from the surface
Apply soap. With a soap cannon, spray the entire outer surface of your vehicle, including windows, wheels, paint, mirror, and bumpers. With buckets, fill 1 bucket with soap water following the instructions for proper proportions for the specific soap. Fill the 2nd bucket with clean water. Use the soap water to gently apply a layer of soap. Always dip the sponge, mitt, or wash glove into the clean water bucket before dipping it into the soapy water. This will allow most contaminants to fall into this bucket and avoid mixing with your soap.
Allow the soap to soak. Most likely, the contaminants on your vehicle have been there awhile. Give the soap 3-5 minutes to soak into this grime. Avoid letting the surfaces dry.
Scrub. Choose a starting point you’ll remember, such as the drivers door or roof. Add soap and water and using the mitt, wash glove, or sponge begin to wash the area in circular motions with medium pressure. Allow your circle to overlap to ensure you don’t miss a single inch, ensuring that the surface stays wet. Wash all painted surfaces, windows, bumpers and trim. You will want to dip the mitt, wash glove, or sponge into the rinse bucket before you dip into the soap bucket. If either of your buckets becomes dirty, clean them out and fill with clean water. If at any point you drop your mitt, wash glove, or sponge, stop everything and appropriately wash it thoroughly.
Rinse. Rinse the vehicle from the top to the bottom, starting from the roof. During this time, visual inspect the washed surface to ensure you didn’t miss or forget to wash anything. Run the water off the windshield and rear window for a few extra seconds, as the truck and hood have drains located near the base of the window, and this will assist in rinsing them out.
Drip Dry. Give the vehicle a few minutes to allow excess water to run off onto the ground. This is a great second chance to step back and inspect the paint to ensure you have appropriately washed everything.
Clay Bar (optional). For surfaces with more severe contaminants, or if you plan to add a wax or ceramic coating to your paint, consider utilizing a clay bar technique. Large particles are able to dig into the clay compound and be pulled from the surface, giving your vehicles a clean flat surface. Follow the manufacturers specification for the specific product to ensure an appropriate outcome.
Dry with Microfiber Towels. If possible, this step is best done in direct sunlight as the sun warms the surface of your vehicle, although should not be done in direct sunlight if your climate is extremely hot and evaporates the water prior to being dried. This would cause water marks. Using clean microfiber clothes, dry the vehicle from top to bottom using circular motions to avoid streaks. If the towel becomes too wet and is not absorbing the water, set the towel to the side and grab the next dry one.
Coatings. Paint, at a microscopic level, has a rough outer surface. This rough surface becomes the reason water builds up before running off. Coatings such as wax and ceramic fill these microscopic valleys creating a smooth surface, reducing water buildup, or “stick”
Automotive grade soaps create a thin layer of protection against the elements. This thin layer lasts a minimal amount of time.
Wax coatings create a semi soft smooth surface to repel water, with added UV protection.
Ceramic coatings create a hardened near perfect smooth surface, with a glass like finish and UV protectants.
Due to differences in products on the market, always follow the manufacturer’s directions specific to the product purchased.
Windows
As you’re in your vehicle, you are surrounded by glass, glass which gives you the vision of the nature you drive through, but more importantly the vision of the other vehicles around you at all points in time. The glass in your vehicle is important to maintain and keep clean, inside and out.
With the initial steps identical to the first six steps of automotive paint washing, you should consider taking the time to maintain your glass as part of any hand car wash or auto detailing effort.
What You’ll Need:
Water Source
A hose is ideal, but buckets with a supply will work.
Car washing mitt, glove, or sponge
Automotive specific soap
2 bucket or a soap cannon
Microfiber towels
For trouble areas covered in heavy contaminants such as tree sap or bugs which fail to be removed by simply washing the windows, you may use a straight razor blade or #0000 to clean the surface. Both must utilize water to avoid etching, and should be used with caution and care.
Washing Your Windows
Follow paint washing steps 1 - 6. With the windows and the painted surfaces exposed to the same environment, the contaminants are the same and should be removed in the same manner.
If heavy contaminants are found, at this point you would utilize the straight razor blade or #0000 steel wool with care.
Dry with a microfiber towel. Using a microfiber towel, dry all the windows from top to bottom. For the side windows, roll them down slightly to clean up to the top of the glass.
Clean interior windows. The inner side of the windows are not exposed to harsh contaminants. This means the interior of the window can often be wiped down by spraying a small amount of glass cleaner on a microfiber towel, and quickly wiping the inside of the window.
Coatings (optional) Similar to paint, winshields have microscopic imperfect surfaces. This becomes obvious as the windshield becomes wet, as water will stick to the windshield and often leave streaks when using the wipers.
External hydrophobic coatings reduce water build up and promote small beading, allowing the water to simply run off. Internal coatings create an anti-fog layer to reduce fog or frosting on the inside of the windows.
Wheels and Tires
Wheels and tires become a vital aspect of safety, as they ultimately hold the entire vehicle as you travel over the road. While they get washed with standard automotive soaps, often different cleaners, brushes and coatings are utilized for deep clean.
What You’ll Need:
Water Source
A hose is ideal, but a single bucket will work
Automotive specific soap
Automotive wash mitt, glove, or sponge
-
This should be separate from the one used on the paint and glass, due the corrosive properties of brake dust, avoid using this washing device on anything other than wheels
Wheel Brush
-
A medium to hard bristle synthetic brush used to remove hardened contaminants
Wheel Cleaner
-
A specific cleaner used to break down brake dust. Often coming in a spray bottle or aerosol can, this is a strong cleaner that should be used within the manufacturer specifications, with care taken to avoid spraying the tires, and the paint.
Tire Cleaner
-
A specific cleaner focused on moisturizing and protecting the rubber compound used in tires, also known as tire shine.
Washing Your Wheels and Tires
Follow paint washing steps 1 - 6. This will remove a majority of the dirt and light brake dust off the wheels and tires.
Spray the wheels with wheel cleaner. Following the manufacturer instructions, spray the cleaner on the wheels.
Using the brush, scrub the brake dust free from the wheels.
Rinse the wheels. Rinse the wheels and inspect them to ensure they are clean to your satisfaction.
Wash the tires. Following the manufacturer instructions, clean the rubber edge of the tire exposed to the sun. UV rays break down the rubber and cause dry rot. At this point, your wheels and tires should be shining like brand new.
For painted wheels, you have the option to use wax or ceramic coatings to seal the surface.
For chromed wheels, specific chrome polishes should be used.
Underbody
The underbody of your vehicle is exposed to dirt, grime, oil, along with any other contaminant found on the road as you drive.
Due to accessibility and general complexity of shape of the components under your vehicle, the best option for washing comes with a hose or power washer. If a soap cannon is an option, spray the underbody with soap and allow it to soak. At this point, use the hose or power washer to rinse the underbody as thoroughly as possible, working your way around the vehicle in attempt to hit as many angles as possible.
Interior
Inside of each vehicle, you will find a variety of materials. It’s important to understand what materials you have within your vehicle to appropriately clean each component correctly, especially if it's your first time doing so. With the large number of cleaners on the market, always read the manufacturer’s instructions to assure proper use.
Leather. Leather is a high end product used in many luxury automobiles. If your vehicle has a leather interior, you must use specific leather cleaners and conditioners to maintain the soft texture and promote longevity. If leather is not properly maintained, it will begin to dry out and crack.
Vinyl. One of the most common materials to find in your vehicle over the last 80 years is vinyl, which is a soft plastic material manufactured to look and feel like leather. Modern vinyls from the factory are produced with a UV protectant, anti mold coating which promotes longevity and reduces color fade. Over the years, use wears the top protectant layers away, and the material must be re-sealed to maintain longevity. With this being a form of plastic, you should always use an upholstery specific cleaner for vinyl.
Plastics. Similar to vinyls, plastics are manufactured with an outer layer of UV protection. Over time, this protective layer begins to break down and needs to be appropriately cleaned and re-sealed. Many plastic surfaces were manufactured with textures to create a feel of fabrics, in many cases, a bit of warm water and a soft brush will assist it in cleaning out these textures. Utilize automotive plastic specific cleaners to properly wipe down plastic surfaces.
Glass. While we previously discussed the cleaning process for the inner side of windows, many manufacturers utilize glass for instrument clusters and radio head units. These interior pieces of glass should be cleaned with care. First, attempt to clean the glass with a clean dry microfiber towel. If a glass cleaner is needed, use a small amount sprayed onto the towel. For LED screens, avoid spraying chemicals onto the screen directly.
Metal. Many manufacturers have utilized steel, aluminum, chromed steel, and stainless steel trim pieces for interior details over the decades. When cleaning different metals, always ensure you have properly identified the material, at which point you should use the appropriate polish. For deep cleaning, you may use #0000 steel wool with water, using light to medium pressure.
Carpet. You should take care when cleaning your carpet. First, sweep the car with a quality shop vac to remove all large particles such as dirt and sand. In many cases, this will be a satisfactory clean. For stains or deep cleaning, use an automotive carpet cleaner and a brush. Some products require the cleaner to be vacuumed out of the car, while some other products allow air drying. Read the manufacturer instructions to ensure you utilize the right method.
Summary
When cleaning your car, your goal will always be to remove a majority of contaminants with water, then scrub everything down, finished by adding protectants. With most cleaning processes starting with a soap wash, we encourage you to take the time to clean your entire car all at once.
After a coating, such as a ceramic coating is applied to your vehicle, maintenance and cleaning will become significantly easier as contaminants struggle to attach to your vehicle.
Taking the time to wash your vehicle the right way creates a deep, clean appearance that protects your vehicle the best you can, allowing you to be proud of that shine, while protecting your vehicle.
Sources:
https://www.carparts.com/blog/brake-dust/
https://www.caranddriver.com/news/a15339994/how-long-should-a-new-set-of-tires-last
https://thenewswheel.com/winter-weather-myths-does-road-salt-actually-cause-rust-on-cars
https://www.thedrive.com/cleaning-detailing/35713/how-to-clay-bar-a-car
