

But unfortunately, time takes a toll on all things, and that includes your beautiful car.
Scratches, scrapes, and paint fading are all signs that the years have been working their way into your vehicle's exterior. So what is there to do?
Buffing and waxing your car is the best way to have your ride cruising down the street in its full glory once again.
At Shine Armor, we’re passionate about how your car looks and performs, and we’ve put together the how’s and why’s for you when it comes to buffing your car as well as possible.
Safety First
Particularly if you decide to use an electric buffer, you want to make sure that you follow a few essential safety precautions.
Don’t wear any jewelry. At all. The rotary spinner on an electric buffer moves fast, and you really don’t want anything like a bracelet, necklace, or ring getting caught and flung by it.
Make sure to be working in a well-ventilated space like an open garage or even outside. During the buffing process, you’ll be removing a thin layer of paint, not to mention the polish you’ll use could likely have toxic fumes. Definitely not anything you want to be breathing in.
Wear protective gear. This includes a face mask to avoid any of the aforementioned fumes, but also wear eye protection, gloves, and preferably something with long sleeves.
If you get any of the polish or materials on your skin or in your eyes, immediately go wash up and consider calling poison control.
Get the Proper Equipment
Now that we’ve made buffing your car sound a little scary (don’t worry, it really isn’t), let’s talk about what you’ll need to get started.
Make sure to buy reliable, high-quality tools and materials for this process. If you’re willing to put the time and effort into buffing your car, you want to make sure you’re doing a good job.
Here’s what you’re going to need to get started:
- Electric Buffer: If you decide to use an electric buffer instead of manually doing the job, we don’t blame you. Electric buffers can save you a bunch of time and energy. We recommend using a random orbital option for the best shine and easiest experience.
- Pads: Whether you opt for microfiber, foam, or fabric, choose a high-quality buffing pad to ensure that you get the best end result out of your polishing efforts.
- Microfiber Towels: You’re going to be cleaning your car before you start and wiping off any excess debris throughout the process so have a good amount of clean, durable microfiber towels for when you need them.
- Masking Tape: All of your clear plastic and glass elements are going to appreciate not being buffed out, so we’ll use a good roll of masking tape to save them that experience.
- Car Soap: As we will discuss, the first and last step of buffing your car is making sure it’s squeaky clean. Use advanced deep cleaning soap to make sure your car is ready to go.
- Wax: After the buff, you’ll want to wax your car and fill in any scratches. This will give your car a brand-new look and add a layer of protection against aging.
- Compound and Polishing Products: Compound products are for more heavy-duty jobs, while polishing is for a car that just wants to shake the dust off. Decide what type of buff you’ll be doing and pick out the right product.
How To Buff Your Car
Now that we’ve gathered everything we’ll need to buff the car, gather all of your equipment, make sure that you’re parked in a well-ventilated area and let’s get to work.
Clean Up First
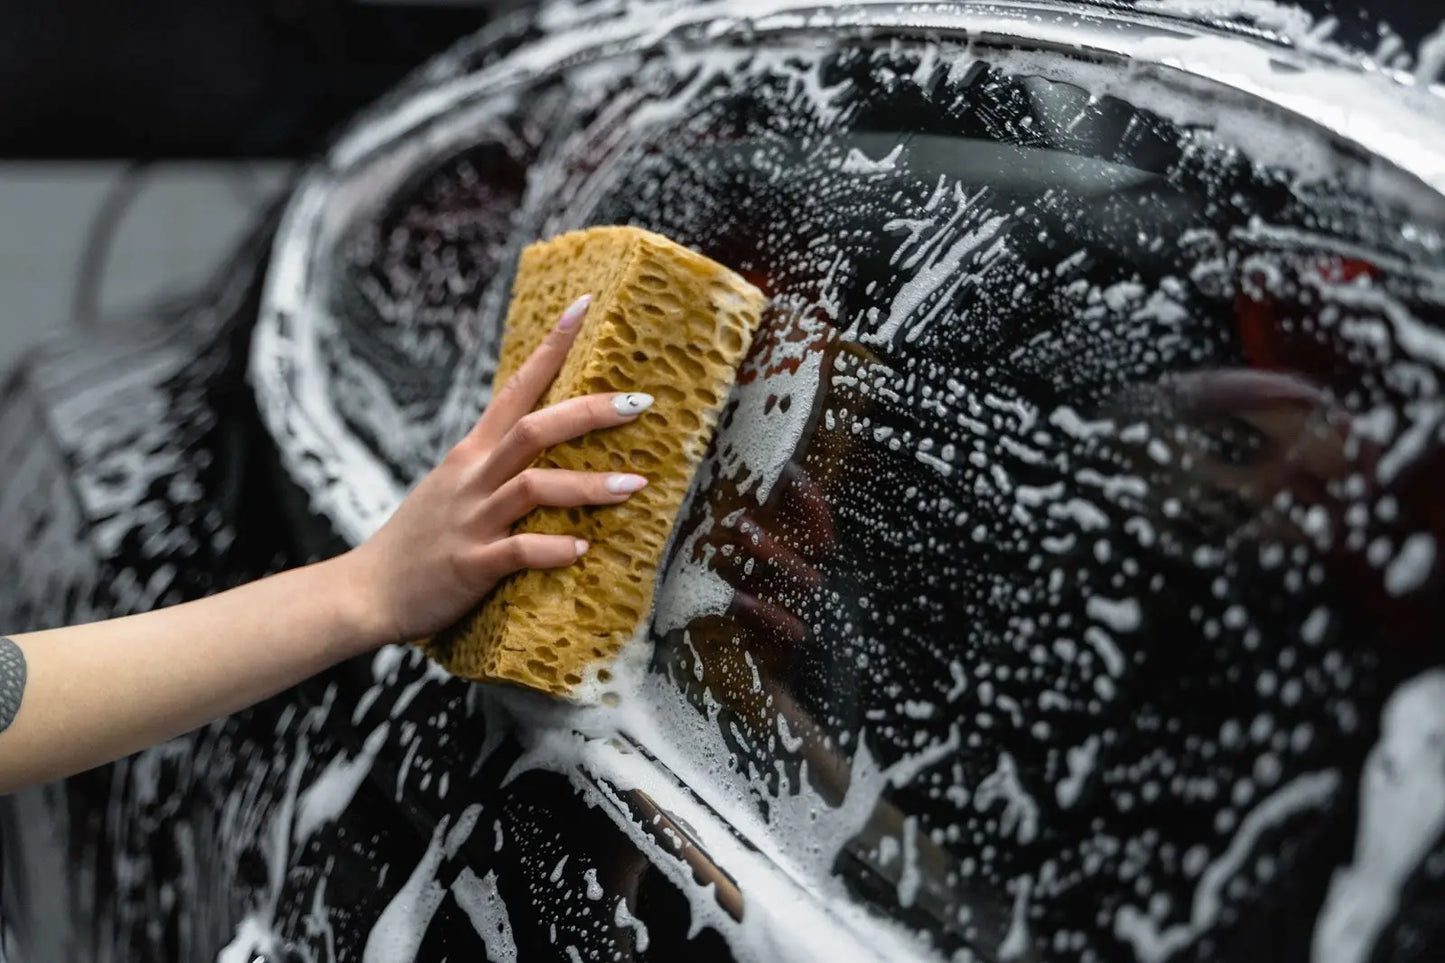
Start by giving your car a good wash. You want to make sure to clear any dirt or debris from every inch of your exterior for a few reasons.
First of all, you want to be able to see exactly what you’re doing and what you need to work on. Buffing out the car means that you’re removing small scratches and wear from your vehicle, so being able to see them is pretty important.
Secondly, you don’t want any additional dirt mixing in with the buffing product because it may actually scratch your car up.
Tape Off Plastic and Glass
Tape off all your mirrors, lights, and windows (basically, all of your car’s clear plastic and glass components) so they aren’t buffed by accident.
You don’t need to tape the whole thing, just enough on the edges that you won't accidentally knick them while you’re working.
If you’re interested in buffing out your headlights, there’s a separate process with specialized kits just for doing that.
Begin the Buff
Now to the buffing. Apply a small amount of your compound to either the pad or directly onto the vehicle, depending on the instructions on the product.
Start slow and gentle and get a feel for how fast to crank up the electric buffer. Typically you want to stay fairly gentle: You never want the device slipping out of your control.
Gently move around the car and get every exposed nook and cranny. Use the microfiber to wipe off any excess product, especially when it starts to look hazy.
Apply the Wax
Once you’ve buffed out the whole car and wiped off as much as you can, it’s time to apply the wax. They’ll usually have different instructions and come with their own applicators; you won't be using the electric buffer for this.
We recommend using the Spray Wax Quick Coat for a gorgeous shine and reliable protection.
Wash Up Again
Once you’ve applied the wax, followed the instructions, and given it the time it needs, it’s time to clean up again. Give the car a good wash, and you should be looking like you just rolled off the lot.
Advice for Getting the Best Shine
Buffing out your car can result in a super slick-looking ride. However, you might not feel comfortable doing this, and that’s totally normal!
Don’t worry; you’ll get the process down quickly, and we’ve got some helpful tips for those just starting out.
Only Use Clean Equipment
Always wash your equipment before and after use, and make sure to only use clean pads and microfiber towels.
Because you want to make sure to eliminate any dirt or muck hanging out, you definitely don’t want to use anything that isn’t completely clean. Use new pads when you can and send your towels through the wash after you use them.
Practice on Something Else
If you really feel nervous about buffing your car for the first time, that’s fine! Try to find something you can practice on, like a separate door or a friend's car if they don’t mind. Just try not to do anything you can't fix on their ride.
Keep the Pad Moving
You want the pad rotating at all times while you’re buffing, of course, but you also don’t want it to linger on one spot on your car for too long.
While a high-quality buffing product will reduce the amount of friction you create on your car's surface, it will start to build up if you stay on one spot for too long.
This can create damage and wear down your paint coat, so make sure to use gentle sweeping motions and always keep the pad in motion.
Work in the Shade
Parking the car in a ventilated spot is essential, but finding a shady spot to work in will also be a huge help.
Keeping your car nice and cool before starting the process will result in a better shine at the end. You definitely don’t want to be working on a boiling hot or a freezing cold exterior.
Status: Buffering
Buffing your car can take a road-worn vehicle and make it sparkle like it's golden days. Granted, the longer you let time take its toll on your ride, the more work you’ll have to do.
Make sure to buy top-notch materials and practice your technique before really taking off if you feel uncomfortable. Make sure everything you’re working with is clean and pre-prepared so when you get to each step, you’ll be ready.
Take your time buffing out your ride; your car has been supporting you for this long so treat it with the care it deserves.
Sources:
Common Causes of Car Scratches | Car Learning Guide.